
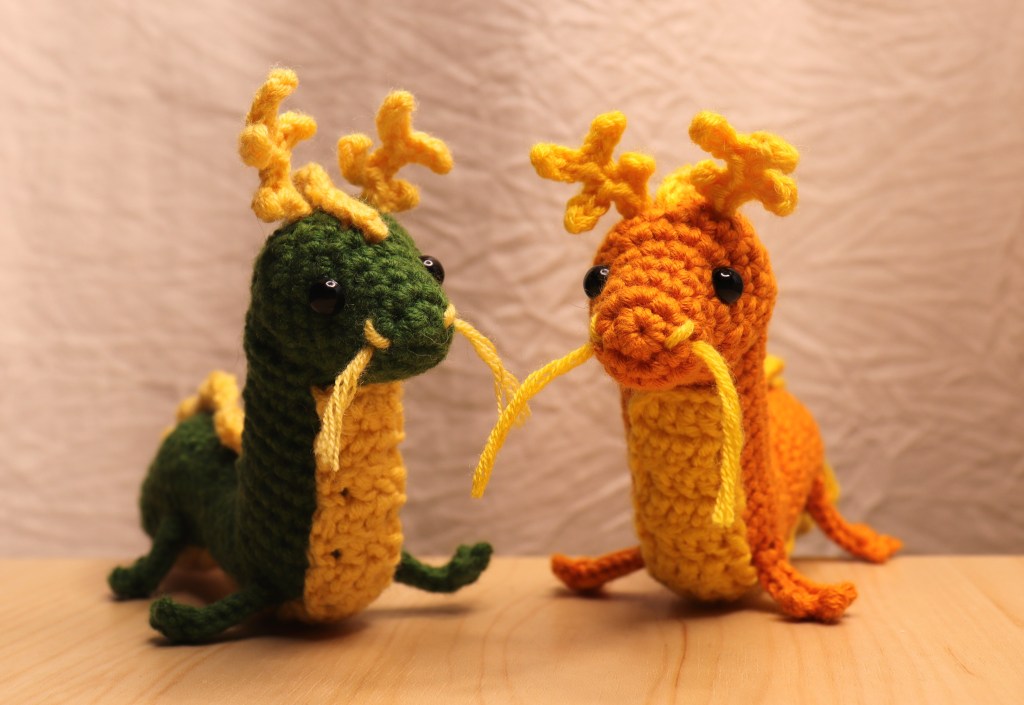
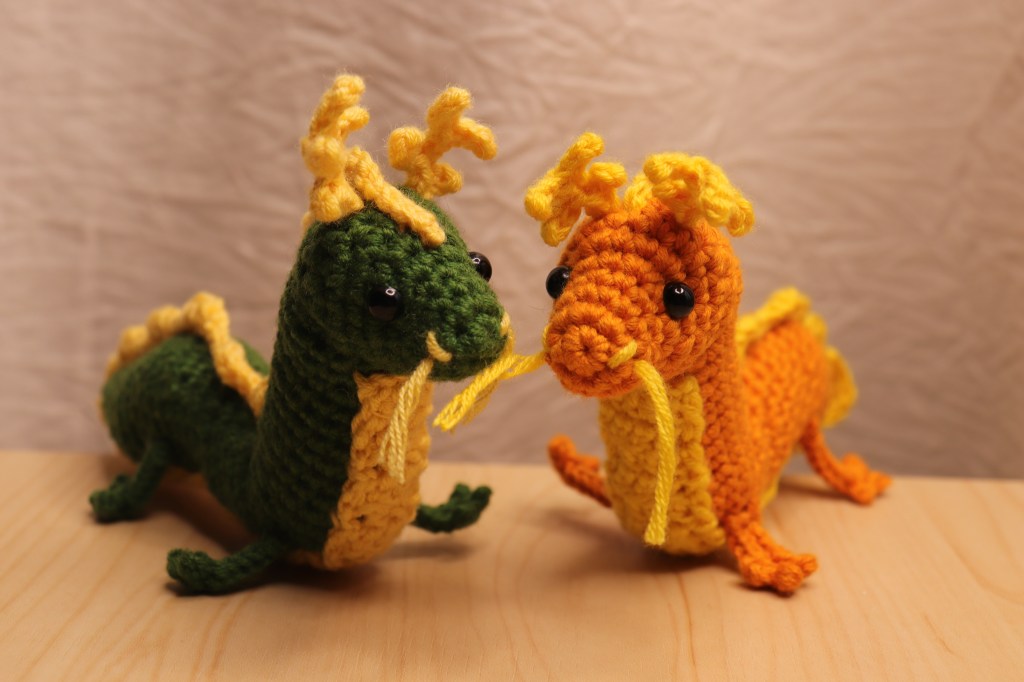
Farewell to the year of rabbit, and welcome the year of dragons!

Wishing everyone a happy lunar new year, and I have made a new pattern to make a miniature dragon for you! The yarn I’m using will make a palm-sized dragon, but you can always make a larger one with thicker/flurry yarn.
It consists of the body, limbs, horns, ears, belly, and back hair. It was not very difficult but requires some patience for make all the parts and sew ~ A complete step-by-step tutorial is below~
I used a complete circle for the entire pattern, which means I ended each row with a slip stitch. The purpose of the method is to make counting stitches easier, if you are using continuous round, it will work as well~
Please respect copyright and do not claim this pattern as your own, nor use it for commercial products. It was made for people to enjoy crochet!
Material
Green version
Body+ limbs: KPC Glencoul DK Rainforest
Whisker + horn + back hair: KPC Glencoul DK Blonde
Golden version
Body +limbs: KPC Gossylp DK Monk
Whisker+ horn + back hair: KPC Glencoul DK Mango
6.0mm safety eyes
2.2 mm hook
Stitch marker
Needle for sewing
Stuffing
Abbreviations
sc: single crochet
hdc: half double crochet
sl: slip stitch
ch: chain
FO: fasten off
MR: magic ring
inc: single crochet increase
dsc: invisible single crochet decrease
tc: triple crochet
Reading pattern
sc 6: means single crochet in the upcoming 6 stitches
(inc, sc) x 3: means a single crochet increase, followed by a single crochet in the next stitch, then repeat the whole set for three times
(19): The bracket in each round indicates how many stitches are there after you finish that round.
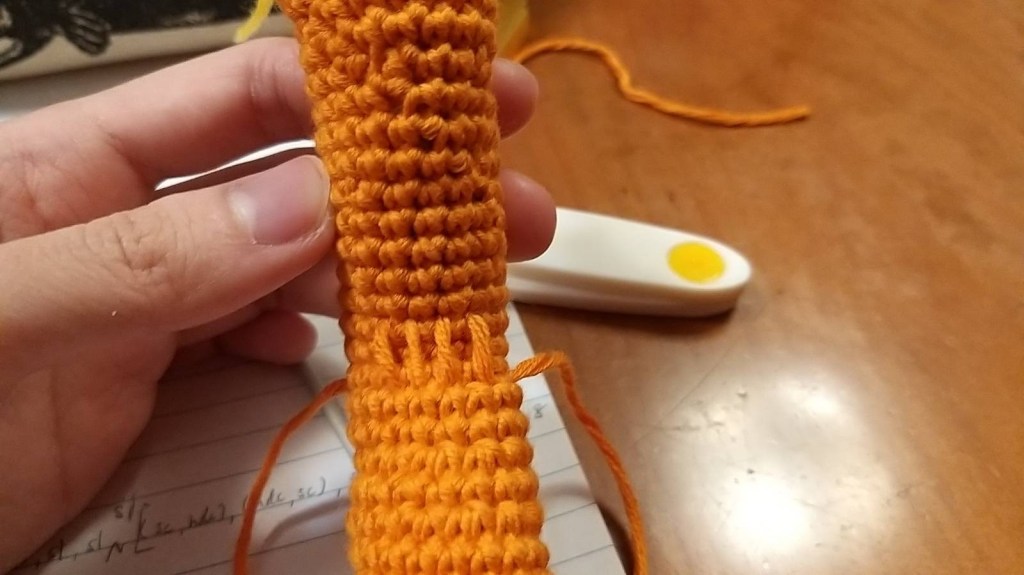
Body
You will see some stitches increase and decrease, this is to make the body curve naturally, but more sewing is needed at the end to achieve the shape. I attached a photo at the end so you can check whether you have a similar shape.
Round 1: MR 6
Round 2: inc 6 (12)
Round 3: sc 12
Round 4: sc 12
Round 5: sc 3, (inc, sc) x3, sc 3 (15)
Round 6: sc 2, (inc, sc 2) x 4, sc (19)
Round 7: sc 6, hdc x 5, sc 8 (19)
Round 8: sc 3, hdc x 9, sc 7 (19)
Round 9: sc 3, hdc x 9, sc 7 (19)
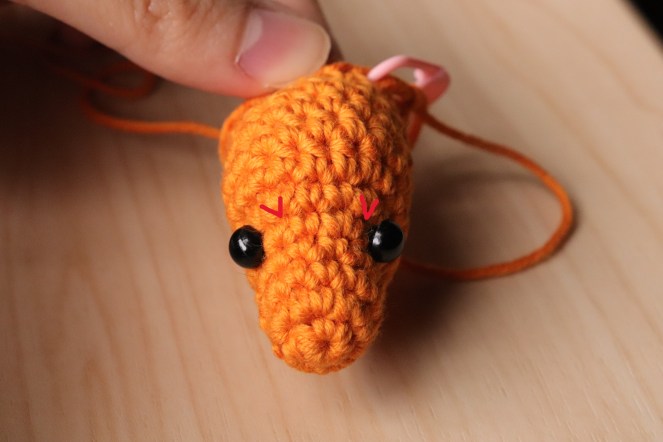
You can insert the 6.0mm eye now, it locates between row 5 and 6. You can use the inc location as a reference for the location of eyes. I use red mark so you can see clearer~
You can also do a little bit stuffing at the same time~
Round 10: sc 3, hdc x 7, sc 3, (dsc, sc) x2 (17)
Round 11: sc 2, (dsc, sc) x3, inc x 5, sc (19)
Round 12: sc 19
Round 13: sc 19
Round 14: dsc, sc 2, dsc, sc 3, inc, sc 3, inc, sc 5 (19)
Round 15: sc 19
Round 16: sc 19
Round 17: dsc, sc 5, inc, sc, inc, sc 4, dsc, sc 3 (19)
Round 18: sc 19
Round 19: sc 19
Round 20: sc 4, inc, sc 2, inc, sc 3, dsc, sc 4, dsc (19)
Round 21: sc 19
Round 22: sc 19
Round 23: sc 19
Remember to stuff along you go!
Round 24: (dsc, sc) x 3, sc 2, inc x 4, sc 2, dsc (19)
Round 25: sc 19
Round 26: sc 19
Round 27: (dsc, sc) x2, sc, inc x 4, sc 3, dsc, sc, dsc
Round 28: sc 19
Round 29: sc 6, inc x 4, sc 9 (23)
Round 30: sc 15, dsc x 4 (19)
Round 31: sc 13, dsc x 3 (16)
Round 32: sc 4, (inc, sc) x 3, sc 6 (19)
Round 33: sc 19
Round 34: sc 19
Round 35: sc 19
Round 36: (dsc, sc) x 3, sc 2, (inc, sc) x 3, sc 2
Round 37: sc 19
Round 38: sc 19
Round 39: (dsc, sc 3) x 3, sc 7, dsc, sc 2 (15)
Round 40: sc 15
Finall stuffing!
Round 41: (sc 2, dsc, sc) x 3 (12)
Round 42: sc 12
Round 43: (sc, dsc, sc) x 3
Round 44: sc 9, FO
Limps x4
The limps were not to provide support to the body but just to stabilize it a little bit more.
There was no obvious round as it involved a lot of chain and slip stitches.
Step 1: ch 6, sl 5, ch 1, turn, sl 5 (here is the limp part)
Step 2: [ch 2, sl x 2] x 3 (here is the toe part)
Step 3: sl 6 (all the way back to the start), FO and leave a long thread
Horns
It is basically a chain then a couple slip stitches backward to create that antler shape.
Left side
ch 6, sl 2, ch 5, sl 3, ch 4, sl5, ch 3, sl 7
Right side
ch 3, ch 4, sl 3, ch5, sl 4, ch 4, sl, 6 ch 2, sl 4
Back hair
After chain 55, we start from the tail to the head. Stitches in the blanket means the number of crochet you make in one chain
ch 55, ch 2, (dc, dc, tc) in second loop from the hook, (2 tc), (1 tc, 2 dc) in one loop, sl, sl, sl, sl, [ (sc, hdc), (hdc, sc), sl, sl, sl, sl] x 8
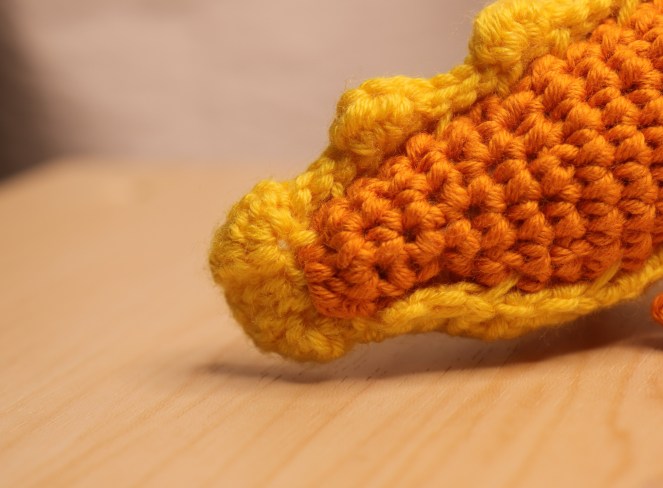
The picture below show the (dc, dc, tc), (2 tc, (1 tc, 2 dc) part.
After crocheting everything, you will get something like below 👇🏻
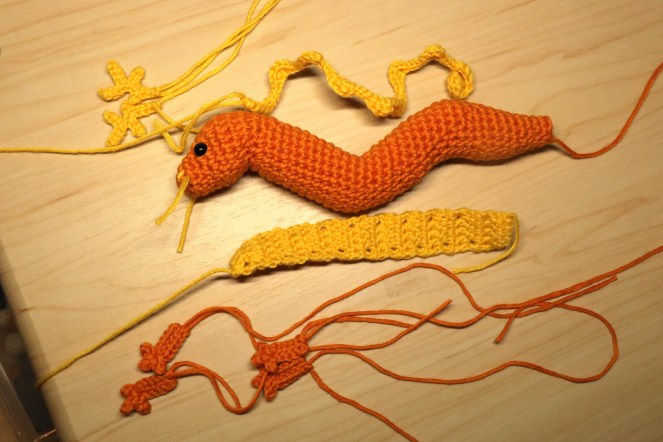
We will have to shape the body a little bit by sewing.
I sew in chin part and the first turn part to make it stand upright.
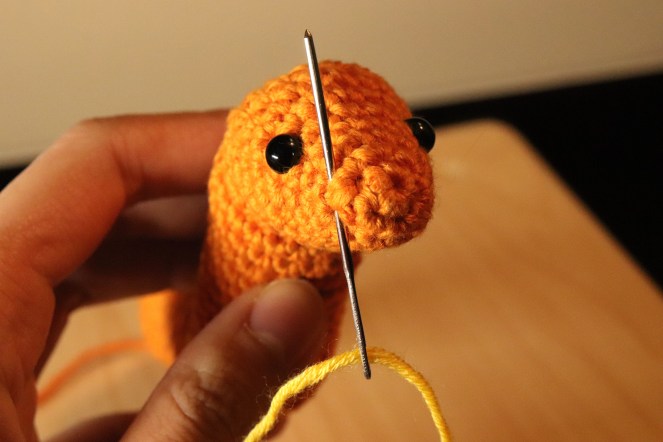
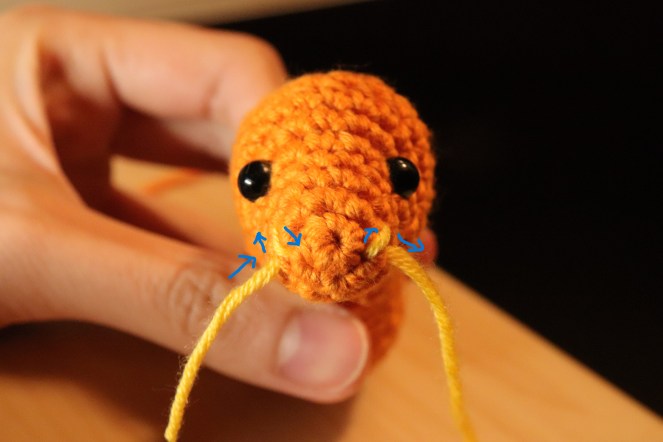
Nose and whiskers sewing
A photo guide on how to sew it~
Thank you for reading till the end, I hope you like the pattern. Happy Lunar New Year!
Share with me your project on Instagram! Follow me on Instagram or other social media~

Leave a comment